
Creating Pinterest Story Pins: The Complete Step-by-Step Guide
Pinterest Story Pins are a powerful, multi-page format designed to showcase ideas, tutorials, and narratives in an immersive way that keeps people engaged on the platform. Also known in many contexts as Idea Pins, this format blends vertical visuals, short text, and interactive features into a bite-sized story arc. If you want to capture attention, demonstrate a process, and inspire saves, Story Pins can be your most discoverable, evergreen content on Pinterest.
Before you dive into creating your first pin, it helps to understand how Story Pins fit into Pinterest’s broader creator ecosystem and distribution model. Pinterest has steadily expanded features that reward creators who teach and inspire. For historical context and platform direction, see Pinterest’s announcement on new ways for creators to build and grow. While terminology evolves, the intent remains: high-quality how-tos and ideas win attention—and Story Pins are built for exactly that.
In practice, Story Pins behave like mini tutorials. You can stitch together 5–20 frames (images or short clips), add concise captions, overlay text for clarity, and finish with a strong call to action. Unlike standard static pins that often rely on outbound clicks, Story Pins focus on engagement and completion inside Pinterest, which can amplify distribution and saves. The result is a format that teaches quickly, looks great on mobile, and can rank for months in search and related pins.
If you’re developing your visual style, invest in learning color, typography, and visual hierarchy. Foundational skills in composition will make your sequences more legible and memorable. For broader creative growth and inspiration, you might explore a curated guide to top art programs to sharpen your eye. The better your visuals, the easier it is for pinners to consume and save your tutorials—and the more likely Pinterest is to surface your work.
What You’ll Need Before You Start
- A Pinterest business account (for analytics and distribution features).
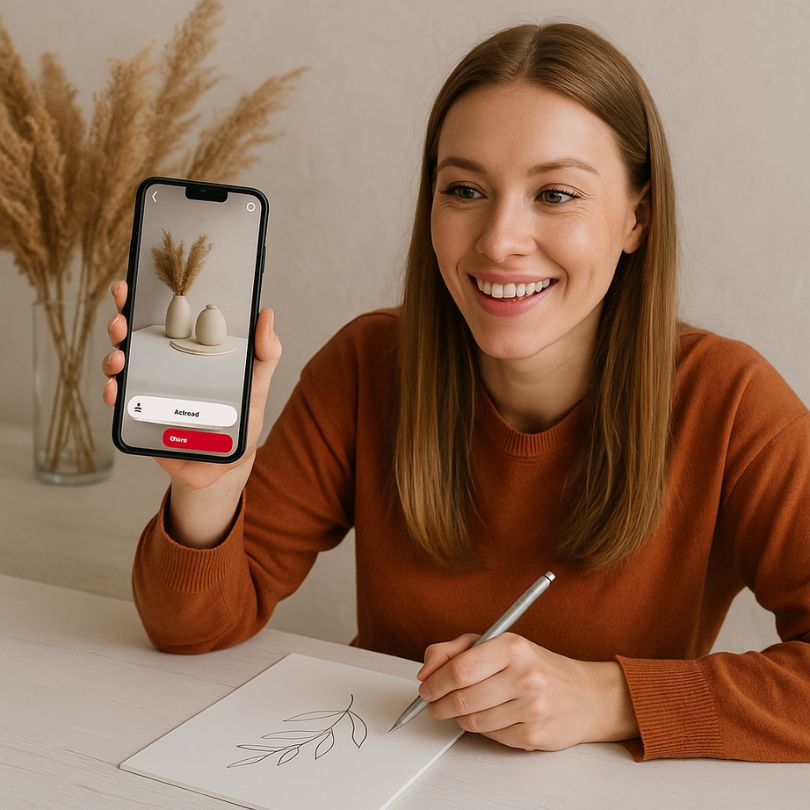
- Vertical assets: 1080×1920 px (9:16) images or short videos, crisp and high-contrast.
- A clear idea-to-outcome structure: problem, steps, results, and next action.
- Readable brand fonts, a palette, and a simple text style guide for overlays.
- Keywords list for titles, on-frame text, and descriptions (more on SEO below).
Step-by-Step: How to Create Pinterest Story Pins
Define a single, specific outcome
Decide exactly what your viewer will learn or make by the end. For example: “5-step desk makeover,” “Easy 10-minute granola,” or “Beginner watercolor sky.” Specific outcomes make your Story Pin naturally scannable and save-worthy.
Draft a 6–10 frame outline
Map a tight sequence: hook, ingredients or materials, core steps, reveal, and a final actionable takeaway. Aim for one idea per frame. Keep captions under 90 characters whenever possible so on-frame text stays legible on small screens.
Prepare vertical visuals
Use 1080×1920 assets. For video, keep clips 3–8 seconds per frame. Stabilize footage, boost exposure and contrast, and add a gentle vignette if needed. For photos, shoot near natural light, remove clutter, and keep backgrounds simple so text overlays pop.
Create a compelling cover
Your first frame should communicate the promise: big, readable title; clean background; and a micro visual of the finished result. Treat the cover like a book jacket—it determines whether people tap in or keep scrolling.
Layer short, directive captions
Use action verbs: “Cut,” “Blend,” “Layer,” “Sand,” “Pin.” Write for speed. Avoid long sentences and jargon. Consider color-coding steps (e.g., Steps 1–3 in blue, Steps 4–6 in green) to aid memory and improve completion rates.
Add accessibility and clarity
Ensure text contrast passes accessibility checks. Place text within safe margins so nothing is cropped on different devices. If possible, include captions or brief subtitles for any spoken portions of video.
Include a strong close and next action
End with a recap frame and a polite CTA: “Save for later,” “Try this weekend,” or “Follow for more easy DIYs.” Clarity beats cleverness at the close—make it obvious what to do next.
Optimize title, tags, and description
Use your target keyword in the title and first sentence of the description. Add 5–10 relevant tags. Avoid stuffing—write naturally so search understands context and users find your idea believable and helpful.
Publish and pin to a relevant board
Choose a board whose title and description already include your focus keyword or synonyms. This improves semantic relevance and how your Story Pin appears in related results.
Monitor and iterate
Check impressions, saves, follows, and completion rate. Note which covers and sequences hold attention best, and refine your next batch accordingly.
Design Best Practices That Boost Saves
- One font for titles, one for body. Consistency builds brand memory.
- High contrast. Dark text on light backgrounds (or vice versa) increases legibility.
- Safe zones. Keep text away from top/bottom edges so UI chrome doesn’t overlap.
- Face and hands. Human elements raise perceived credibility and interest.
- Show progress. If it’s a craft or recipe, include a reveal frame mid-way to reward attention.
- Repeatable templates. Create 2–3 reusable layouts to speed up future production.
SEO for Pinterest Story Pins
Search is a major discovery channel on Pinterest, so treat optimization as you would for a blog post—only visual-first. Your focus keyword should appear in the title, the first sentence of your description, and ideally on the cover frame as on-image text. Sprinkle natural variations throughout captions (e.g., “story pins,” “idea pins,” “Pinterest tutorials”). Avoid stuffing; coherence matters more than density.
- Title: Front-load the keyword and benefit. Example: “Creating Pinterest Story Pins: 7 Easy Steps for Beginner DIYers.”
- Description: Lead with the keyword in a human sentence. Add 1–2 secondary phrases naturally.
- Tags: Select tags that match the content’s category and materials, not clickbait topics.
- Boards: Pin to boards whose titles and descriptions reflect the same semantic theme.
- On-image text: Use the keyword or its close variant on the cover for extra relevance.
Pro tip: If you publish a related blog tutorial, align the blog’s H1, meta title, and first paragraph with the same focus keyword. Cross-consistency improves search clarity across ecosystems.
Publishing Strategy and Cadence
Batch your creation process: script five ideas, shoot in one session, then edit in two sittings. Publish 2–4 Story Pins per week for sustained momentum. Space them out by at least 24 hours, and test posting times that align with when your audience saves most. Keep each pin self-contained; avoid multi-part series unless each part stands alone.
Measuring Performance
Track impressions, saves, follows, completion rate, and reactions. Saves are the strongest signal that your content is useful now and later. Completion rate reflects clarity and pacing—if people exit early, your sequence may be too slow, text too small, or the hook unclear. Use these metrics to inform your next cover, outline, and stylistic choices.
Common Mistakes to Avoid
- Overcrowded frames. Too much text per frame reduces completion.
- Weak cover promise. If the benefit isn’t obvious, people won’t tap in.
- Inconsistent style. Random fonts and colors erode recognizability.
- No recap or CTA. Always give a clear next step: save, try, or follow.
- Ignoring accessibility. Low contrast and tiny text limit reach.
Advanced Tips for Power Users
- Storyboard variants. Create two outlines for the same idea—“fast cuts” and “calm walkthrough”—and A/B test covers while keeping the core content consistent.
- Micro hooks on frames 2–3. Add mini headlines like “Step 2 is the secret!” to re-engage scrollers.
- Color psychology. Use warm accents for food and crafts; cool palettes for tech and productivity.
- Texture and movement. Subtle b-roll (steam, pour, brushstroke) makes frames more tactile and watchable.
- Template library. Build 10–12 reusable canvases with pre-set margins and text styles to speed production.
Note on terminology: You’ll often see “Idea Pins” used interchangeably with “Story Pins.” Regardless of naming, the best practices here focus on clarity, visual pacing, and saving behavior—the timeless levers of discovery on Pinterest.
Conclusion
Creating Pinterest Story Pins is about packaging a clear promise, delivering it with crisp visuals and concise captions, and ending with a confident next step. Prioritize a strong cover, one idea per frame, and keyword clarity across your title and first sentence. As you refine your workflow, you can also explore complementary tools—for example, researching competitive creatives or ad formats with in‑stream intelligence—to sharpen your angles and presentation. Keep testing, keep teaching, and your Story Pins can become a reliable engine for saves, follows, and long-term discovery.