How to Create Product Unboxing Videos: The Complete Guide
Product unboxing videos are one of the simplest ways to build trust, spark excitement, and move shoppers from curiosity to conversion. Done well, they showcase the real feel of a product, reduce uncertainty, and give viewers that satisfying “I can see myself using this” moment that polished ads often miss.
Why do these videos work so well? They simulate the tactile experience of opening something new, letting viewers witness every step—from the seal break to the first power‑on—through your eyes. The best creators balance authenticity with structure: they plan their shots, light the scene, and narrate with clarity while staying honest about first impressions. If you’re new to the format, this quick overview of unboxing videos explained will give you broader context. Below, you’ll find a practical, end‑to‑end guide to produce your own confidently.
Start With Strategy: Audience, Platform, and Purpose
Before you touch the camera, define the viewer you’re creating for and the job your video needs to do. Is it a YouTube deep dive to help undecided buyers evaluate options? A short, snackable TikTok meant to trigger impulse purchases? Or an Amazon listing asset that highlights exactly what comes in the box? Clarity here shapes your script length, aspect ratio, pacing, and even your lighting choices.
Tailor your plan to each platform’s discovery and retention mechanics. For example, YouTube rewards strong hooks, clear chapters, and higher average view duration, while Shorts, TikTok, and Reels favor immediate visual payoff in the first two seconds and tight cuts every 1–3 seconds. Use basic social media analytics to see where your audience watches most and which formats drive the most watch time, clicks, and comments for your niche.
Pre‑Production: Script Lightly, Plan Thoroughly
You don’t need a word‑for‑word script to make compelling product unboxing videos, but you do need structure. Write a bullet‑point outline that covers: a snappy hook (5–8 seconds), what the product is and who it’s for, the unseal moment, what’s included, two or three standout features with close‑ups, quick tests or first‑use impressions, and a clean close with a simple call to action. This keeps you on track without sounding robotic.
Create a Shot List
- Packaging hero: the box on a clean surface, brand forward.
- Seal break: knife or pull‑tab in slow, controlled motion.
- Layer reveal: lift the lid and pause for anticipation.
- In‑box contents: lay items out neatly, label if helpful.
- Texture and ports: macro shots for materials, seams, I/O.
- First power‑on or assembly: show real behavior in real time.
- Size reference: hand or familiar item for scale.
- B‑roll: panning shots, 45° angles, natural rotations.
Gear That Makes a Difference (Without Overspending)
You can start with a recent smartphone and still make professional‑looking product unboxing videos. Prioritize lighting and audio first; camera quality helps, but steady shots and clear narration matter more for perceived quality. A basic kit: phone or mirrorless camera on a tripod, a small softbox or two LED panels with diffusion, and a budget lavalier mic or shotgun mic placed 6–12 inches from your mouth.
Lighting Basics
- Key light at 45° to the product, slightly above eye level, softened with diffusion.
- Fill light on the opposite side at 25–50% intensity to retain shape.
- Back light or edge light for separation from the background.
- Use a neutral, uncluttered surface—wood, matte white, or slate works well.
Audio Tips
- Record in a quiet room with soft furnishings to tame echo.
- Disable noisy HVAC and place the mic close; monitor levels at −12 dB peaks.
- Capture clean “packaging sounds” (peels, crinkles, clicks) as separate takes for editing flexibility.
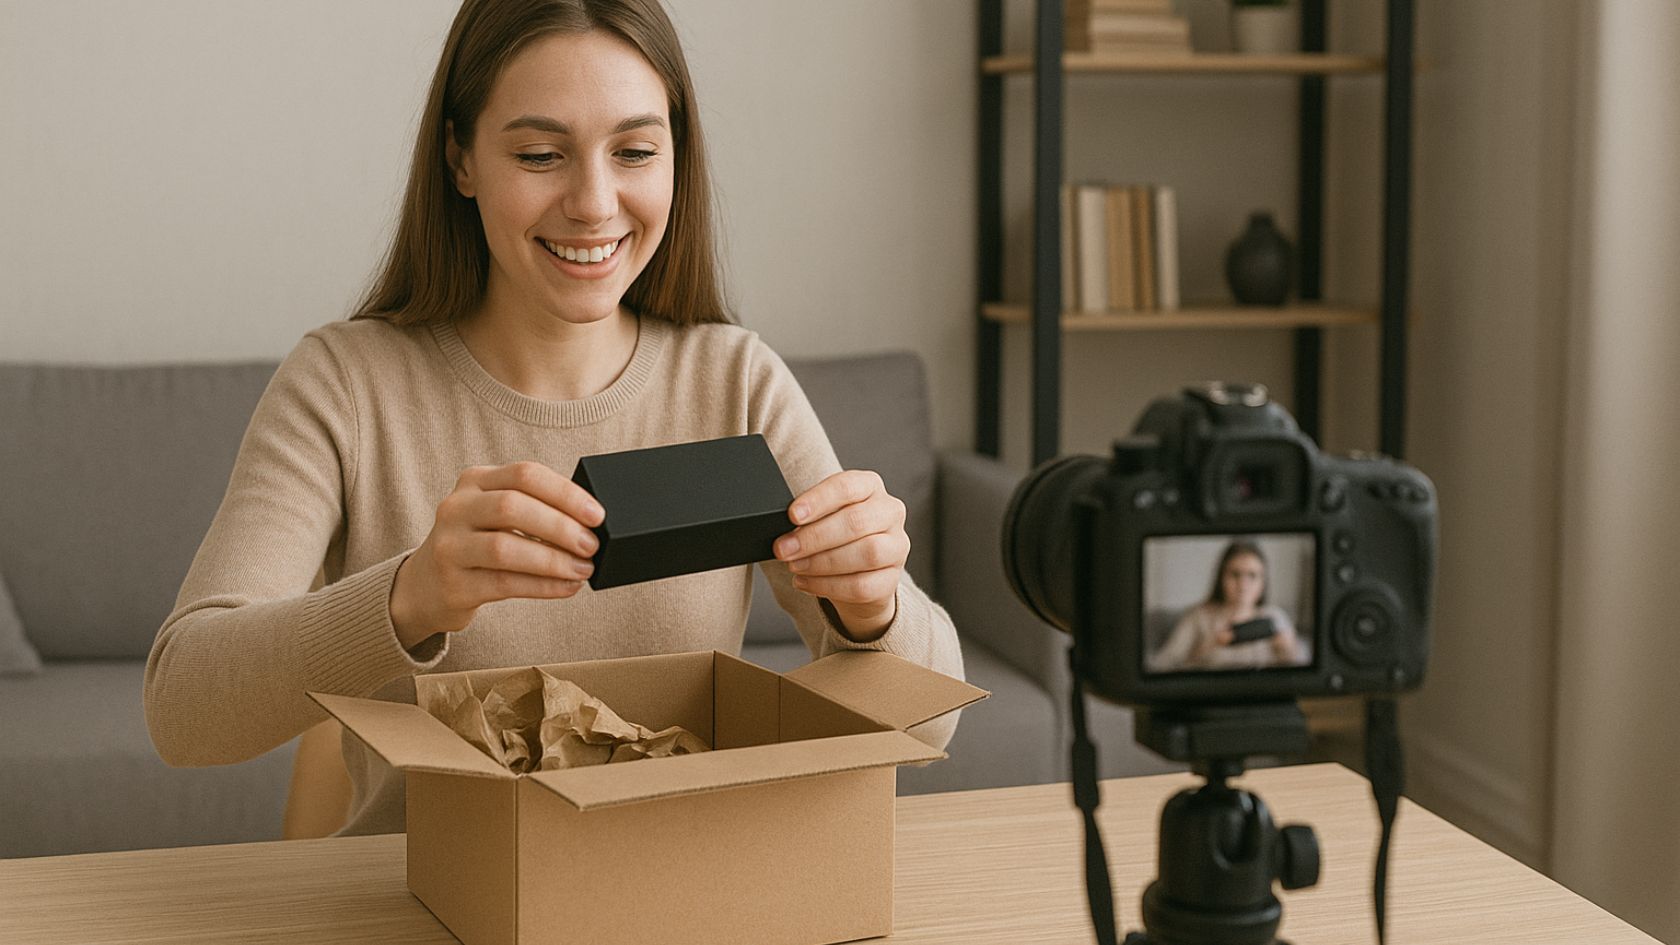
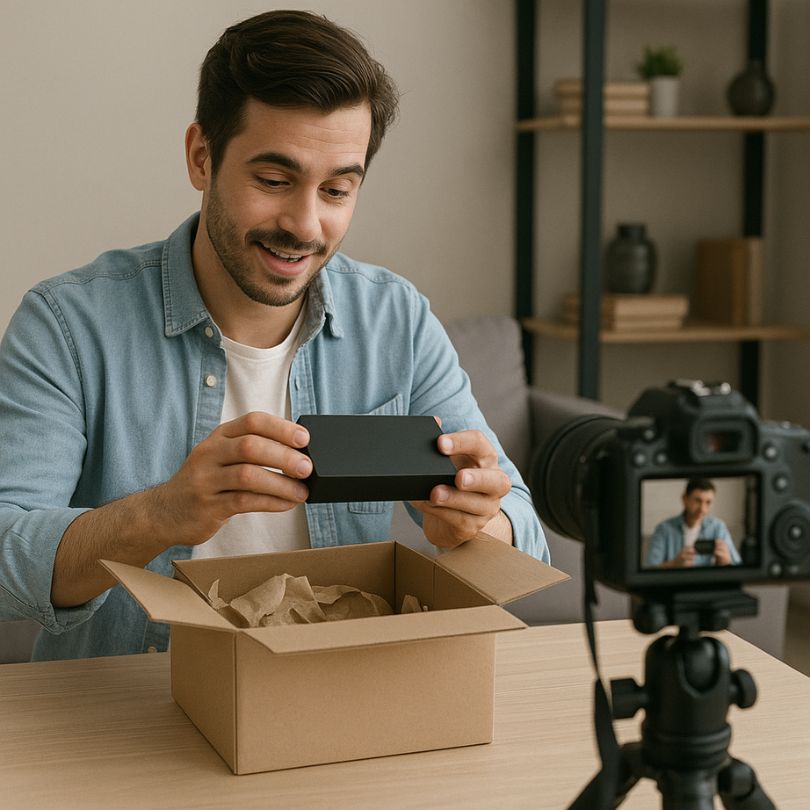
Shooting Workflow: Step‑by‑Step
- Establish the hook: Start with a tight shot of the product name/hero angle and an immediate value promise: “Is this the most durable travel mug under $30?”
- Show the box: Let the branding and seals be visible; avoid shaky handheld during this phase. Use a top‑down or 45° angle for stability.
- Break the seal: Slow, centered, and in focus—viewers love this moment. Consider a slight slow‑motion pass in post.
- Lay everything out: Arrange contents neatly on your surface; insert quick labels or lower‑thirds for each item.
- First impressions: Comment on material, weight, finish, and any surprises. Keep it honest and specific.
- Feature close‑ups: Use macro shots and gentle panning; call out two or three features that matter most to your target buyer.
- Quick test: Turn it on, pair it, assemble it—whatever “ready to use” looks like—and narrate what you’re noticing.
- Wrap with clarity: Summarize who this is for, any caveats, and the next step (subscribe, learn more, or where to buy).
Framing, Composition, and Backgrounds
Keep backgrounds simple and consistent with your brand. A matte surface with a subtle color that complements the product prevents distraction. Favor 35–50mm full‑frame equivalent focal lengths for natural perspective; go wider only for top‑downs. Maintain headroom and lead room if you’re on camera; for product‑only shots, center and balance with negative space for titles or captions.
Editing: Turn Raw Takes into a Tight Story
Import and organize clips by scene (box, contents, features, tests, hero). Create a clean selects timeline, cut a 60–120 second main version, and then derive shorts (9:16) by reframing important beats vertically. Maintain snappy pacing—trim pauses and reshoot lines that ramble. Sweeten packaging sounds at −20 dB under voice, and add subtle whooshes for transitions sparingly.
Color and Sound
- White balance to the product, not the room. Avoid heavy saturation that distorts real color.
- Apply a basic contrast curve; protect highlights on glossy packaging.
- Use gentle noise reduction; over‑processing creates artifacts and a “watery” sound.
Branding, Disclosures, and Trust
Transparency builds credibility. If a product was gifted or the link is an affiliate, disclose it early in the video and in your description. Keep your claims verifiable and specific; avoid superlatives unless you can test them. Include a quick, consistent end card with your logo and a concise CTA so viewers recognize your brand across videos.
Optimize for Each Platform
YouTube
- Title template: “Product Name Unboxing & First Impressions: Key Feature in Action.”
- Use chapters: Unseal, What’s Inside, Features, First Use, Verdict.
- Custom thumbnails: clean background, product at 70% frame height, 3–4 words of promise.
TikTok, Reels, and Shorts
- Front‑load visuals; the first 1–2 seconds should be the most satisfying moment.
- Use captions or on‑screen text for viewers watching muted.
- Keep cuts tight; avoid repeating angles without adding new info.
SEO for Video and Blog Embeds
Even for product unboxing videos, search optimization matters. Match your title and H1, include the focus phrase in the first 100 words, and use semantically related terms throughout (unseal, in‑box contents, first impressions, hands‑on, real‑world test). Add a keyword‑rich description on YouTube and your site, and include timestamps that mirror your chapters. For blog embeds, surround the video with a transcript or key points so search engines have rich text to index.
Repurpose and Distribute
- Cut a 15–30 second “first impressions” snippet for Stories.
- Turn your shot list and top tips into a carousel post.
- Create a comparison grid image if you also reviewed alternatives.
Measure What Matters
Focus on metrics that reflect viewer quality: average view duration, retention dips (where do people drop?), end‑screen click‑through, and comments that indicate purchase intent. If you use affiliate links, track click‑through rate by platform to learn where your product unboxing videos convert best. Over time, identify which hooks, lighting setups, and video lengths correlate with stronger retention and repeat those patterns.
Common Mistakes to Avoid
- Shaky top‑downs: Always use a tripod or overhead rig; handheld is distracting.
- Poor audio: Viewers forgive average visuals, not muddy or echoey voiceovers.
- Cluttered desks: A messy scene reduces perceived product quality.
- Endless rambling: Keep commentary purposeful; cut anything that doesn’t inform or delight.
- No context: Explain who the product is for and why it matters.
Quick Checklist
- Hook written (promise + why watch now)
- Shot list printed or on a nearby tablet
- Batteries/lighting checked; white balance set
- Mic tested; room noise minimized
- Clean surface and consistent background
- Labels or lower‑third templates ready
- Chapters planned; CTA scripted
Conclusion
Creating compelling product unboxing videos isn’t about expensive gear—it’s about clarity, structure, and honesty. When you plan your hook, light the scene well, capture clean sound, and keep the story tight, you deliver the tactile excitement viewers crave and the practical information buyers need. As you iterate, track what keeps people watching and refine your formula one improvement at a time. And if you monetize through e‑commerce, keep exploring market demand and creative angles—tools for dropship product research and competitive analysis can help you spot trends worth unboxing next.