How to Create Product Photography That Sells: A Step-by-Step Guide

Product photography is the art and science of planning, lighting, shooting, and editing images that make customers want to click, zoom, and buy. Whether you run a small Shopify store or manage a marketplace catalog with thousands of SKUs, a dependable product photography workflow turns casual browsing into confident purchasing. In this guide, you’ll learn how to design a shot from concept to final export, how to avoid common mistakes, and how to maintain a repeatable process that scales.
If you’re just getting started and want a quick primer, this product photography guide covers foundational concepts like backgrounds, framing, and composition. Below, we’ll go deeper with step-by-step instructions, checklists, and pro tips you can implement with gear you likely already own.
Why does great product photography matter so much? Because images handle the heavy lifting of trust online. Shoppers cannot touch or test your product; the photos must communicate quality, scale, texture, and use. Crisp photos boost time-on-page, reduce returns, increase add‑to‑cart rates, and improve ad performance. Done well, a single session can yield hero shots, detail crops, lifestyle scenes, and social assets that work across your entire funnel.
You’ll also get more value from your images when you measure their impact. Pair your photo refreshes with basic A/B tests, annotated launches, and rigorous attribution so you can tie creative decisions to real outcomes like click-through and ROAS. For a practical analytics refresher, see this clear guide to conversion tracking and make sure your creative updates are properly captured.
Step 1: Define your goal and brand style
Before you pick up a camera, write down the objective for this shoot: product detail page refresh, launch of a new colorway, wholesale catalog, or paid social creative. Then articulate the brand style in a sentence or two. Are you aiming for clean, clinical, “Apple‑like” minimalism? Outdoor, lived‑in lifestyle? Bright and colorful Gen‑Z energy? Your answer determines backgrounds, props, lighting ratio, and color palette.
- Audience and channel: marketplace PDP, DTC site, Instagram, or Amazon ads.
- Core attributes to highlight: size, texture, materials, unique mechanisms.
- Competitive differentiation: what a shopper cannot see in a competitor’s photo.
Step 2: Build a tight shot list
A shot list prevents scope creep and guarantees coverage. Start with a model like: (1) hero angle on white, (2) pure‑white background compliance image, (3) three-quarter angle, (4) back view, (5) scale reference, (6) detail macro, (7) lifestyle in context, (8) in the box/what’s included. For each SKU, note any variant shots (colors, sizes) and any interchangeable detail shots you can reuse across variants.
- Hero on white: your primary commerce image; crisp, symmetric, shadow controlled.
- Compliance image: pure white (#FFFFFF) with soft shadow or none (Amazon‑friendly).
- Detail macros: stitching, texture, buttons, ports, finish.
- Lifestyle: show use; add human scale and context.
- Scale reference: ruler, hand, or familiar object to convey size.
Step 3: Gather affordable gear
You can start with a modern smartphone in portrait mode or any interchangeable-lens camera. The big wins come from light control and stability more than from megapixels.
- Camera: recent iPhone/Android or mirrorless with a 35–85mm equivalent lens to avoid distortion.
- Tripod: lock your framing and keep ISO low; use a remote or timer to avoid shake.
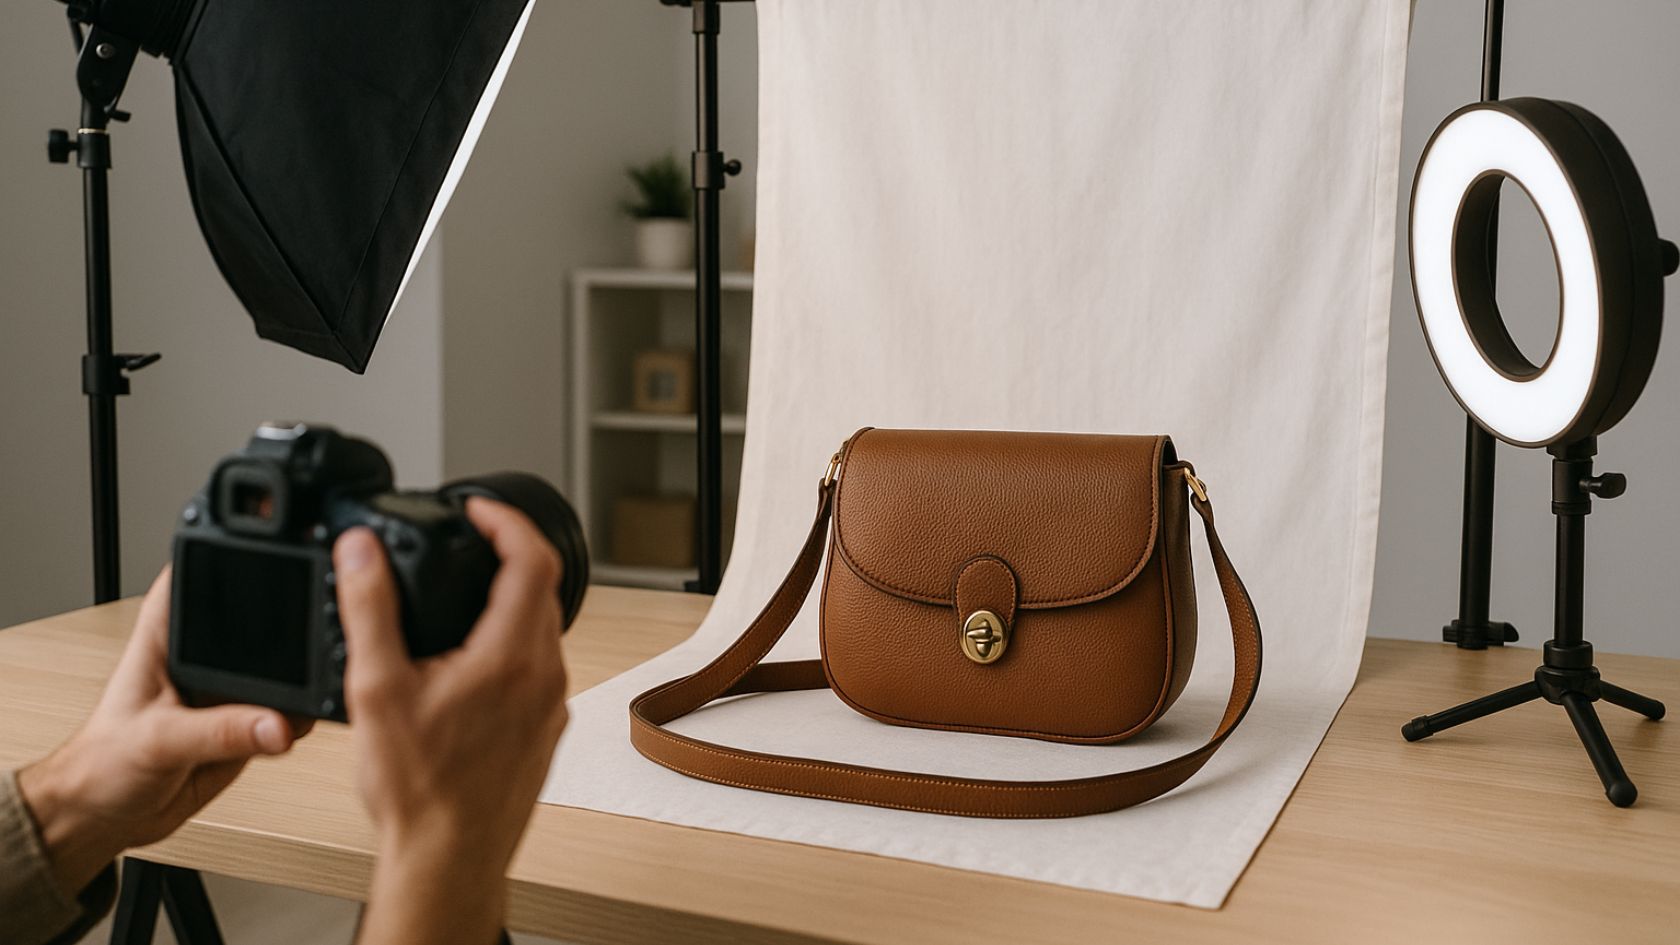
- Light: two dimmable LED panels with softboxes, or a big north-facing window and a reflector.
- Modifiers: white foam board (bounce), black foam board (negative fill), translucent diffusion sheet.
- Backgrounds: seamless white paper (sweep), acrylic for reflections, or textured backdrops for lifestyle.
Step 4: Master simple lighting setups
Window light setup
Place the product on a table near a large window. Put white foam board opposite the window to bounce light back and fill shadows. If highlights are too bright, tape a translucent diffusion material on the window. Add black foam board to the sides to add contrast and define edges.
Two‑light studio setup
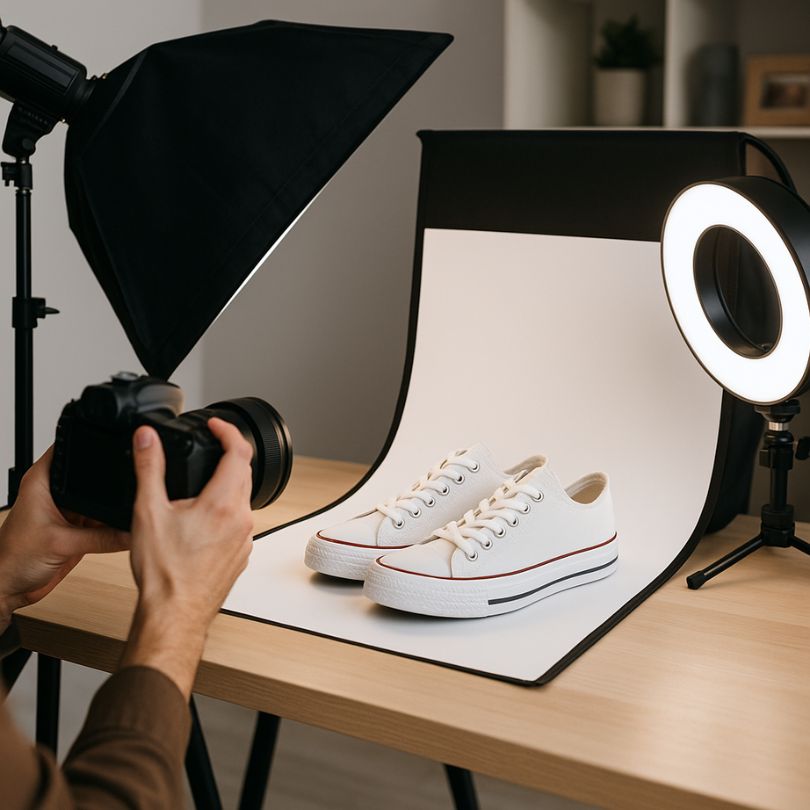
Use a key light at 45° to the product, slightly above eye level, with a softbox. Set a fill light on the opposite side at about half the power to lift shadows. For reflective products, move lights wider and larger, not brighter—soft specular highlights read as quality. Add a small backlight or flag to separate the product from the background.
Step 5: Compose with intent
- Keep lines straight: use a 50mm–85mm equivalent to avoid perspective warping.
- Mind the edges: eliminate tangents; leave breathing room for marketplaces’ auto-crops.
- Use the rule of thirds and leading lines: guide the viewer’s eye to the key feature.
- Control reflections: angle the product and lights to avoid hot spots, especially on glossy objects.
Step 6: Dial in camera settings
Shoot in ample light so you can keep ISO low (100–400) for clean files. Stop down to f/8–f/11 for sharpness across the product, especially with three‑quarter angles. Use a shutter speed that avoids motion blur; with a tripod, 1/60s is safe for static subjects. Lock white balance (e.g., 5600K for daylight LEDs) so your series matches. On phones, use a manual camera app to set ISO, white balance, and exposure compensation consistently.
Step 7: Create a clean set for pure‑white images
For catalog or marketplace compliance, build a seamless background by taping white paper to the wall and letting it curve onto the table, forming a sweep. Place the product 2–3 feet from the backdrop to avoid spill and keep the background truly white. Light the backdrop a stop brighter than the subject to ensure clean whites without halos. Capture a few frames with a gray card to nail color in post.
Step 8: Plan lifestyle scenes that sell use‑cases
Make lifestyle photos do sales work, not just look pretty. Imagine the moment of use and the objection you need to overcome (size, complexity, fit, comfort). Use props that reference the setting without stealing attention. Limit palette to 2–3 colors that complement the product. Introduce a hand model for scale and relatability. Remember: context drives comprehension, which drives conversion.
Step 9: Shoot efficiently with a repeatable workflow
- Set a baseline: lock in light power, camera height, and distance; mark tripod and table with tape.
- Bracket early: take 3–5 test exposures to find your ideal histogram and highlight roll‑off.
- Work from wide to tight: hero, three‑quarter, details, then lifestyle—reduces resets.
- Log as you go: rename while shooting (SKU_01_hero, SKU_02_macro) to simplify post.
Step 10: Edit for clarity, color, and consistency
Post‑processing should serve truth and trust. Start with global adjustments: crop for straight lines, correct lens distortion, and remove dust or specks. Balance exposure and contrast so details read at thumbnail size. Then standardize color with a gray card reference or HSL tweaks. For pure‑white images, use the tone curve or levels to push the background to 100% white without clipping product edges. Retouch sparingly—fix manufacturing dings only if every unit ships without them; don’t misrepresent.
Export settings that protect quality
- Master files: keep a 16‑bit TIFF or RAW+sidecar archive for future crops and re‑edits.
- Web images: export JPEG at 85–90 quality; for transparency needs, use optimized PNG‑24.
- Dimensions: 2000–3000px on the long side balances zoom quality with load time.
- Sharpening: apply output sharpening for screen; preview at 100% before finalizing.
Step 11: SEO for product images
- File names: use descriptive hyphenated names like
leather-wallet-brown-hero.jpg. - Alt text: write meaningful descriptions that mention the product and key attributes.
- Structured content: pair photos with scannable bullets and headings for richer snippets.
- Performance: lazy‑load below‑the‑fold images and serve next‑gen formats if your stack supports WebP/AVIF.
Common mistakes to avoid
- Mixed color temperatures: combining window light and warm lamps yields muddy color—choose one.
- Harsh, unshaped light: small, hard sources create ugly specular highlights; make lights larger and closer.
- Busy props: if a prop competes with the product, remove it; the product is the hero.
- Inconsistent angles: keep camera height and distance consistent across a collection for polish.
Mini checklist for every shoot
- Objective and audience defined
- Shot list printed or on a tablet
- Batteries charged, cards formatted
- Tripod leveled; lights labeled with power settings
- Gray card and microfiber cloth on set
- Backdrop clean; lint roller handy
- Live tether or quick import to check focus and dust
Scaling your process
As your catalog grows, standardize everything. Build a one‑page style guide with reference images, angles, light positions, and export specs. Create presets in your editing software, label shelves for props, and store backgrounds in tubes. Schedule shoots by category so setup changes are minimal. Most importantly, document your naming and folder structure so teammates and future freelancers can plug in without friction.
Consistency is a conversion feature. When every image in a collection feels coherent, shoppers trust your brand—and trust drives checkout.
Conclusion: Turn browsers into buyers
Product photography, done methodically, compounds. Each shoot improves your library, speeds future sessions, and raises conversion across ads, PDPs, and email. Start with a clear goal, control your light, shoot on a tripod, keep color consistent, and edit with restraint. If you sell in competitive niches or explore new products, research what angles and contexts win in your category with tools like dropship ad intelligence, then adapt the ideas to your brand. Build the habit, and your images will start doing measurable sales work for you.